de Cor's Handmades - Handmade Jewelry Malaysia: DIY
Showing posts with label DIY. Show all posts

Monday, July 11, 2016

Video Tutorial for Handmade Ear Jacket Earrings, Wire Wrapped Jewelry Malaysia


Visit this website to download complete Handmade Ear Jacket Tutorial.

Testing the new workstation setup for filming the process of making.


I have many jewelry designs but this is one of the most loved design by my private friends network. (Many pairs still stuck not being posted yet, please bear with me!)

Unedited, as raw as it can gets: The making of ear jacket earrings, part one.

(Might not have subsequent parts, though, if this free video tutorial is not gaining enough Likes haha.)

Sunday, January 3, 2016

Malaysia Holiday Places and Happy New Year!


A very happy new year to you!

We were on holiday! Yes you heard me right, holiday and traveling around with kids (oh wow, right?!), nothing fancy, we just drove up north to Penang.

My 3 years old daughter has always been afraid of water (I know, right? I mean how can that be?!) but because her little cousin sister was around to show her what "swimming" was like, she suddenly decided that she could swim!

Awesome, yes? Now we could add one more children activity to the list!

We've also spent a couple of days in Pangkor Laut Resort after we left Penang, and because we were with kids we only have access to certain places in the resort itself. I don't fancy their buffet style meals very much, the restaurants there aren't quite kids friendly IMHO, but their Spa Village was great, its about USD$100 for 80 minutes and I was told by a frequent traveler that with USD$100 you can't get anything quite like that in other places, Pangkor Laut should be the place you'd go before you have kids.

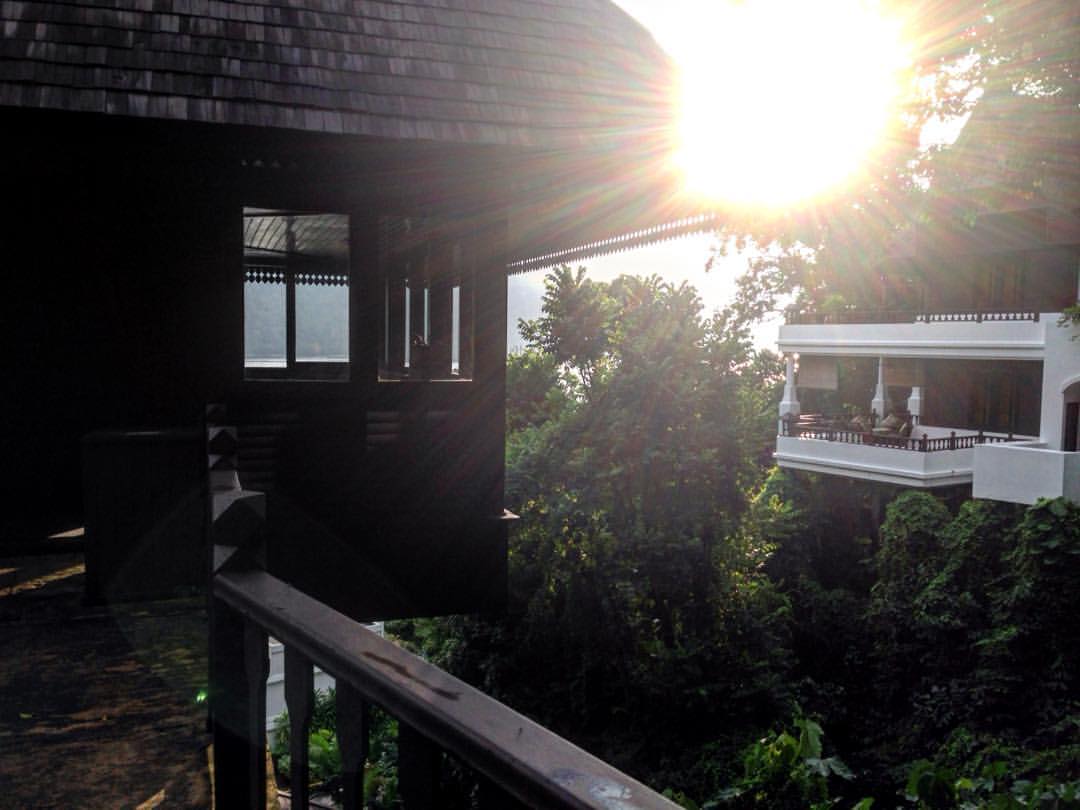
Here's some pictures I've captured with my iPhone:
Pangkor Laut Resort Hill Villas

Pangkor Laut Resort Hill Villas - Sunrise

Pangkor Laut Resort - the Ocean, me and my children
After coming back from Pangkor Laut Resort we went on another family trip to Port Dickson, this time our group was pretty big so we opted for Eagle Ranch Resort and stayed in Kampung Houses, some were staying in Paddock Chalets (which are more kid's friendly). There's only one thing you should watch out for when you are n Eagle Ranch Resort - watch out for your food intake there, it's almost curry, curry and curry for every meal with lots of flies surrounding or resting on them, if you are not a street-food regular you might be better off eating cup noodles because upset stomach is awful to dealt with, but if you are very used to street-food or have been on consuming probiotic then you should be fine, I think, but do consider to cook your own food for your young children, at least.


Horse riding - RM15 for walking a horse for 2 rounds on a field that size, haha. We put our girl up for experience sake, she had fun, so it's all good.


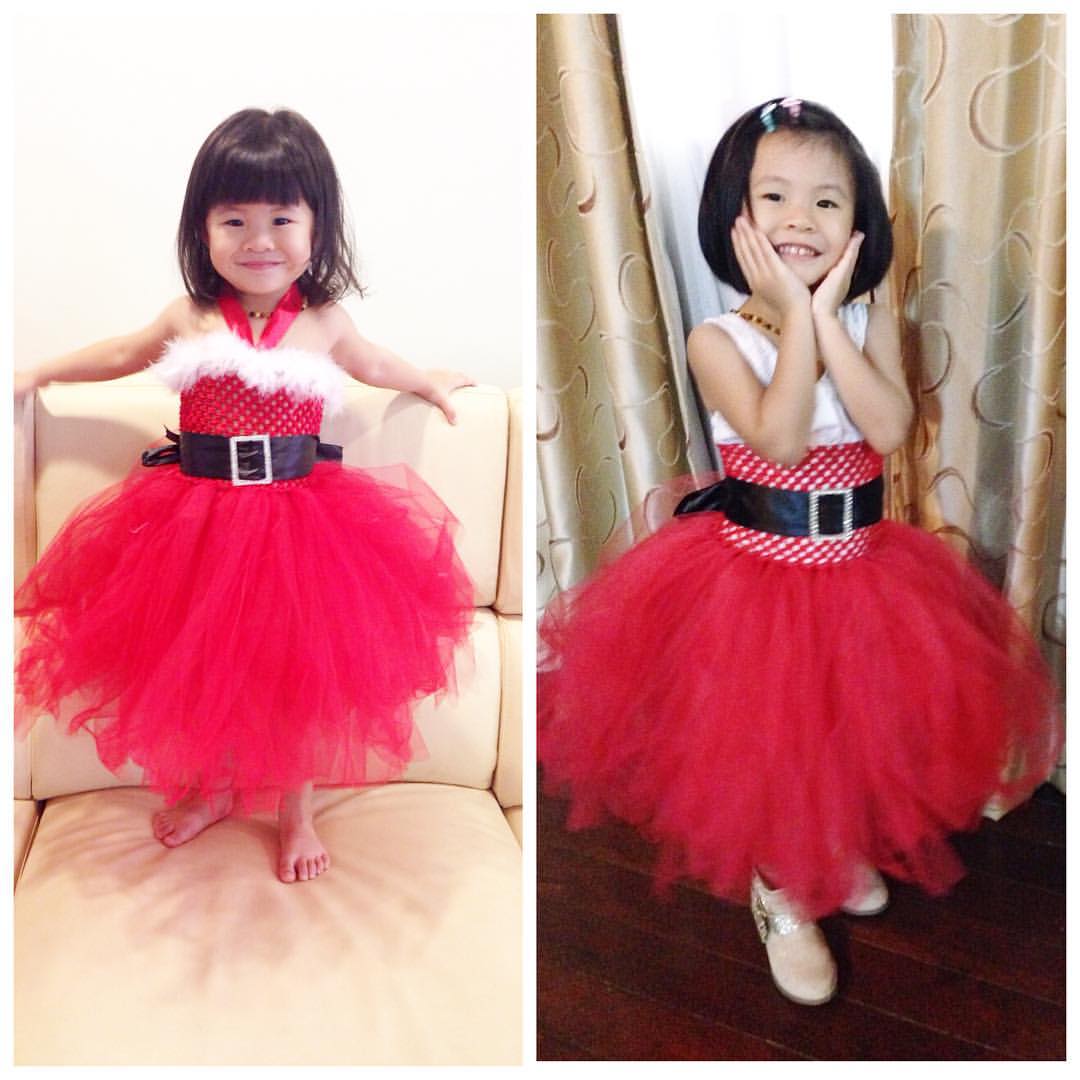
And this. I made this santarina tutu for my daughter last year before giving birth to my second baby, it was almost her full body length last year but look at her now, she could only wear it as skirt! Really can't deal with the fact that time really flies and she's grown so much so fast. (In case you are interested to DIY your own Santa Belt Buckle, here's the DIY Tutorial: How To Make a DIY Santa Belt Buckle Ornament Using Credit Card or Magnetic Stripe Card.

That pretty much wrapped up my 2015, it's been rough because raising a demanding 3 years old and a super cute baby is exhausting, but I am grateful for what've been given and what we have been through, so now, bring it on, year 2016! :)

Tuesday, July 7, 2015

Ear Jacket Earrings Jewelry Kit


Ear Jacket Earrings Jewelry Kit

#7th of July. 

Thanks @kerriehessillustration for the beautiful #khcalendar of #july2015

P/S: #Handmade #EarJacket #Earrings available in aquamarine blue and peridot green now.

Tuesday, May 12, 2015

DIY Super Simple Stud Earrings, Video Tutorial, Wire Wrapped Jewelry


I've promised to show you how I've made this simple solitaire stud earrings from my previous post (Handmade Ear Jacket, Wire Wrapped Jewelry and Handmade double sided stud and earring), here it is:


I filmed this video while my 5 months old baby was taking his morning nap, so please excuse me if you couldn't hear me clearly, you may leave a comment or write to me to ask me if you need to know anything.

Hope you enjoyed the video!

Corra


Thursday, October 30, 2014

How To Make a DIY Santa Belt Buckle Ornament

How to make a DIY Santa Belt Buckle Ornament
Christmas is around the corner and I made a Santa's little helper's tutu for my almost 3 years-old daughter, the only thing left was the Santa Belt Buckle Ornament - I am at my full term pregnancy and I am not as mobile as I would like myself to be, so instead of going around to shop for buckle, I've decided to DIY one.

Here's the Step By Step on How to Make a DIY Santa Belt Buckle Ornament.
Tools and Materials:
- Marker pen
- Ruler
- A magnetic stripe / credit card (you will only need a half of it)
- E6000 Glue
- Craft knife
- 2" width Black Satin Ribbon
- 75mm width white Satin Ribbon
- Rhinestone Adhesive Sheet

Get ready of your magnetic stripe card.
Magnetic Stripe Card
 A standard Magnetic Stripe Card should measure around 8.5cm wide.

 Measure 4.25cm and draw a line at the center.

 Cut repeatedly on the drawn line.

Fold back and forth so that the magnetic stripe card would break off naturally.


Orient half of the magnetic stripe card as shown in the picture.

Measure 5mm inwards from all borders. Draw lines with your permanent ink pen.

Then, measure 0.5" inwards from both the horizontal lines at the top and bottom, draw lines.

Cut out the rectangle. Tips: once you cut through the top and bottom lines, you may go ahead to cut the center part of of the rectangle, make sure you cut lines at the sides as well, but with the broken center part you could fold back and forth repeatedly until the sides break itself.


Repeat the same for another side of rectangle.

Measure the height of the rectangle, it should be almost 2". With this measurement you could go and hunt for a Black Satin Ribbon that suits your project, I find 1.5" ribbons are too thin so I opted for 2" Black Satin Ribbons.

 Now it's time to add some "blings" to the belt "buckle". You will need E6000 glue, 75mm white ribbons and rhinestones sticker sheet.


Apply glue directly on to the magnetic stripe card, then stick on the white ribbons.
Tips: Follow the inner edge of the magnetic stripe card when you stick on the ribbons, that way you could trim away the excess ribbons easily later.
 

Trim away the excess ribbons, and since ribbons often fray when cut, use lighter to reseal all the ribbon's sides.

Choose the surface without protruding characters, then apply E6000 glue onto the white ribbons, finally cut and stick the rhinestones sheet onto all beams.

Slid in the 2" black satin ribbons, it is a little too big for the buckle but I personally find it better off this way so that the buckle doesn't move around too much when worn.

Gorgeous, ain't it? I hope you find this tutorial useful!

Watch the slides show / video version of How To Make a DIY Santa Belt Buckle Ornament too if you are keen, enjoy!


Corra @ de Cor's

Sunday, September 16, 2012

Golden Color Wire Jewelry Bow Hair Clip


Making baby hair accessories can be so addictive, I made another two! But would save the other one for next blog entry. :)

This time I made a yellow classic bow hair clip with the same measurements I've used to make the hot-pink hairclip:
- 2" long bare hair clip
- 1 piece of 4.5" 3/8 inch Grosgrain Ribbon to wrap around the bare hair clip.
- 2 pieces of 4" 3/8 inch Grosgrain Ribbon
- 1 piece of 2" 3/6 inch Grosgrain Ribbon (I sew my wire jewelry focal right at the center of the ribbon, vertically.)
- 1 piece of 1cm X 3cm grip

Tool:
- Scissors (sharp one)
- Lighter
- Hot Glue Gun
- Glue for hot glue gun
- Wires (20ga, 28ga and 30ga)
- 8mm tall tear drop beads (I used Gold color CZ Tear Drop Stone)
- 3mm round beads (I used Swarovski Crystal Pearl beads)


Again it has no-slip grip installed.

And it look absolutely extraordinary on my baby's head - it will be too on it's new owner's, I genuinely hope the toddler and her mother will both like it! :)


Stay tuned for my next blog entry! :)


Corra @ de Cor's Handmades

Thursday, September 13, 2012

DIY Wire Jewelry Bow Hair Clip (with no-slip grip)


Spinning off the previous attempt, I made yet another Jewelry Hair Clip! This time, I made a classic bow hair clip by following instructions from Ashley's Simple Bow Hair Clips (with non-slip grip) tutorial!

So have you made your's yet? No? You really should have, it's easy, Ashley had all details covered!

And here's the materials and it's measurements I've used:
- 2" long bare hair clip
- 1 piece of 4.5" 3/8 inch Grosgrain Ribbon to wrap around the bare hair clip.
- 2 pieces of 4" 3/8 inch Grosgrain Ribbon
- 1 piece of 2" 3/6 inch Grosgrain Ribbon (I sew my wire jewelry focal right at the center of the ribbon, vertically.)
- 1 piece of 1cm X 3cm grip


Tool:
- Scissors (sharp one)
- Lighter
- Hot Glue Gun
- Glue for hot glue gun
- Wires (20ga, 28ga and 30ga)
- 8mm tall tear drop beads (I used pink color CZ Tear Drop Stone)
- 3mm round beads (I used Swarovski Crystal Pearl beads)

And I JUST realized that I did not glue the grip onto a piece of felt first - but it works anyway. :)

The view of the non-slip grips:

And though this isn't meant for my little one, I let her model it anyway. Look absolutely stunning ain't it? I do hope people would notice this isn't an usual cute baby hair-clip, it's custom-made, and made with lots of love. :)

The little new owner ought to love this little jewelry hair clip! :)

Hope you have fun viewing, and make some of bow hair clips soon! :)


Corra @ de Cor's Handmades

Tuesday, August 28, 2012

DIY Wire Jewelry Baby Hair Clip


This is a DIY Wire Jewelry Baby Hair Clip with Non Slip Grip! *big big grin*

The focal is something I have made in year 2009, a stud that I have conceptualized for a friend but it never did materialized, she didn't like it, and I didn't have time to revisit the design then later, we lost touch. I hope she is well, though.

So here, inspired by mgypsy's Little by Little studs, I made this very cute hair pin for my 6 months old. :) This is the first time I am making a hair clip, I hurt my wrist and I almost can't operate that hot glue gun (yes, using hot glue gun for the first time too yay!)

I can't be knowing everything! So here's the instruction I have followed, Simple Bow Hair Clips (with non-slip grip) by Ashley @ Make-it-love-it.

I bought my ribbons and bare hair clip from DIYHairBows.com, non-slip grip, hot glue gun and glues from Mr. DIY store (local store in our neighborhood).

My bare hair clip is 2" long, so the ribbon has to be about 4.5"; the grip's measure 1cm X 3.5cm, and the green ribbon is about 3" (I forgot to take note! I will in the next attempt!)


Ashley's instruction is very easy to follow, you should also be trying it out yourself. :)

Here's how it look on my baby's head. :D
Hope you have fun viewing, and eventually, trying. :D


Corra @ de Cor's Handmades

Friday, August 17, 2012

Malaysia Wire Jewelry - Selamat Hari Raya and Happy 55th Birthday, Malaysia

Credit: picture source from Google image search.
It's Hari Raya again and this year, it fell right before Malaysia's 55th birthday! I have never done this before but hey, I have set all my items to have 70% off with the 20% further discount continues to apply!

Malaysia is 55 years old now, I hope the country become wiser as she age, be a grown up - Yup! That's ALL I am wishing - before her citizens being disappointed too many times. 

Now off you go checking out what's on 70% + 20% OFF DIY Jewelry Patterns - enjoy and happy make your own jeweleries.

Cheers,
Corra @ de Cor's Handmades

Thursday, April 19, 2012

DIY Baby Wire Jewelry Headband with Elastic Lace


Time flies, she's 2 months old now. :)

I made her her first jewelry headband - with my ROSE design, but instead of using 24ga wires, I opt-ed for 26ga wires to produce a smaller wired-rose as result.

I did not photograph the making process, though it's pretty straight forward. The initial plan was to use Gaussian ribbon, with that, i attached a small piece of elastic band onto the ribbon, it turned out pretty decent too but when I wore it on my baby's head, it left her a mark showing that it was too tight. So I decided to ditch the ribbon and go for elastic lace instead - I am glad that it turned out to be totally comfortable, baby didn't even notice the headband until she accidentally touches the ROSE when she was moving her hands and legs (and then yes, she kept touching it with her little hand that's still in mitten, lol.).

Tools:
- flush cutter
- scissors
- thread
- needle

Material:
- 26ga wires
- red color felt
- elastic lace
- 8mm swarovski crystal pearl

Steps:
1. Make a ROSE.
2. Cut a small piece of red color felt according to ROSE's shape.
3. Measure and get baby's head measurement.
4. Cut 2 strips of elastic laces 3cm shorter than baby's head measurement. Let say your baby's head measurement is 38cm, cut 2 strips of 35cm.
5. Put both elastic laces together and make a circle, stitch them up at the lace's ends.
6. Fold them up to get the center of the headband, stitch the ROSE charm onto it.

Anyway this will not be the last time I am making headband, I will remember to photograph down the making process next time around. :)

Hope you have fun trying too!

Corra @ de Cor's Handmades